I have been asked to help hook up document cameras many a time in my years as a teacher, tech guy, SMART Certified Trainer, consultant, and now technology coordinator. As is the answer to most questions, I say "Sure it's possible, but what exactly do you want to do with it?"
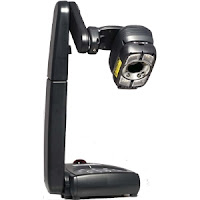
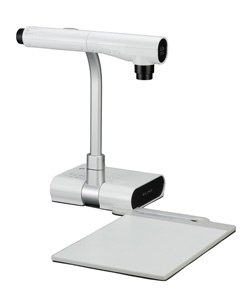
Let's begin with the hardware. I am currently working in the Lower Yukon School District where most teachers have a MacBookPro, Notebook Software, and a document camera. These cameras are either the Elmo TT-02s or the Avervision 300AF+ models. All of the ideas I share here are also possible on Windows and, of course, other document cameras.
To begin, your camera is a simple device. It has a switch on it to provide users with 1 output while accepting 2 inputs. The design is meant for you to press a button, use your computer on a projector (or SMART Board or monitor), press another button, and display what it in the view of the camera. Simple enough, but I want to use both the computer and the camera at the same time!!

AVerVision
Here is how it's done: Download the Avervision Flash plug in and follow my directions:
Click on the (Mac) version:
You will also need to download the SMART Notebook for Mac html tester below:
file:///Applications/AVerVision%20Flash%20Plug-in/SecuritySettings.html
Open Notebook and click on the Insert Menu > Flash > Applications > AVerVision Flash Plug-in > ....swf file.
ELMO
For the Elmo, you will need to download the Image Mate Software for Mac. CLICK HERE.
Once you do, watch this video to see how to view through Notebook:


No comments:
Post a Comment